Integrating Topography into Revit: A Comprehensive Guide
Related Articles: Integrating Topography into Revit: A Comprehensive Guide
Introduction
In this auspicious occasion, we are delighted to delve into the intriguing topic related to Integrating Topography into Revit: A Comprehensive Guide. Let’s weave interesting information and offer fresh perspectives to the readers.
Table of Content
Integrating Topography into Revit: A Comprehensive Guide

Revit, a powerful Building Information Modeling (BIM) software, offers an array of tools to streamline the design and construction process. One crucial aspect often overlooked is the integration of topography data. This article delves into the significance of topography in Revit, exploring its benefits, applications, and best practices for incorporating this valuable information into your projects.
Understanding the Role of Topography in Design
Topography, the study and depiction of Earth’s surface features, plays a vital role in various aspects of construction and design. It provides a detailed representation of the land’s elevation, slopes, and natural features, which are crucial for:
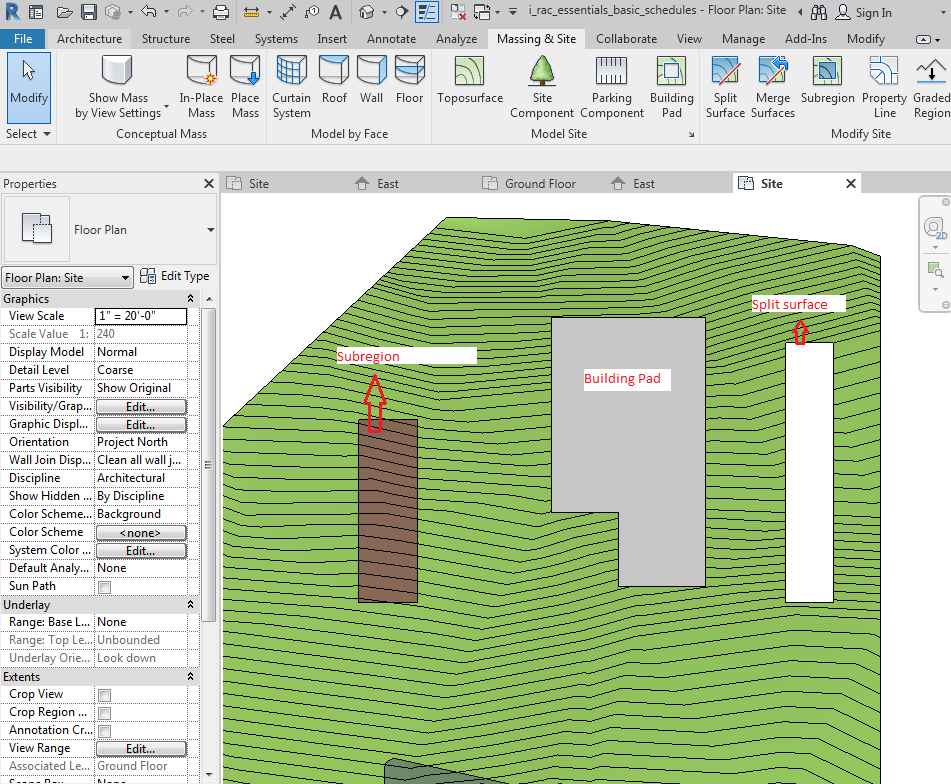
- Site Planning and Layout: Topography data informs the optimal placement of buildings, roads, utilities, and other infrastructure, ensuring efficient use of the site and minimizing environmental impact.
- Grading and Excavation: Understanding the existing terrain allows for accurate estimation of earthwork requirements, minimizing waste and optimizing construction costs.
- Drainage and Stormwater Management: Identifying slopes and natural drainage patterns is essential for effective stormwater management systems, preventing erosion and flooding.
- Building Design and Foundation: Topography data guides the design of foundations, retaining walls, and other structural elements to ensure stability and safety.
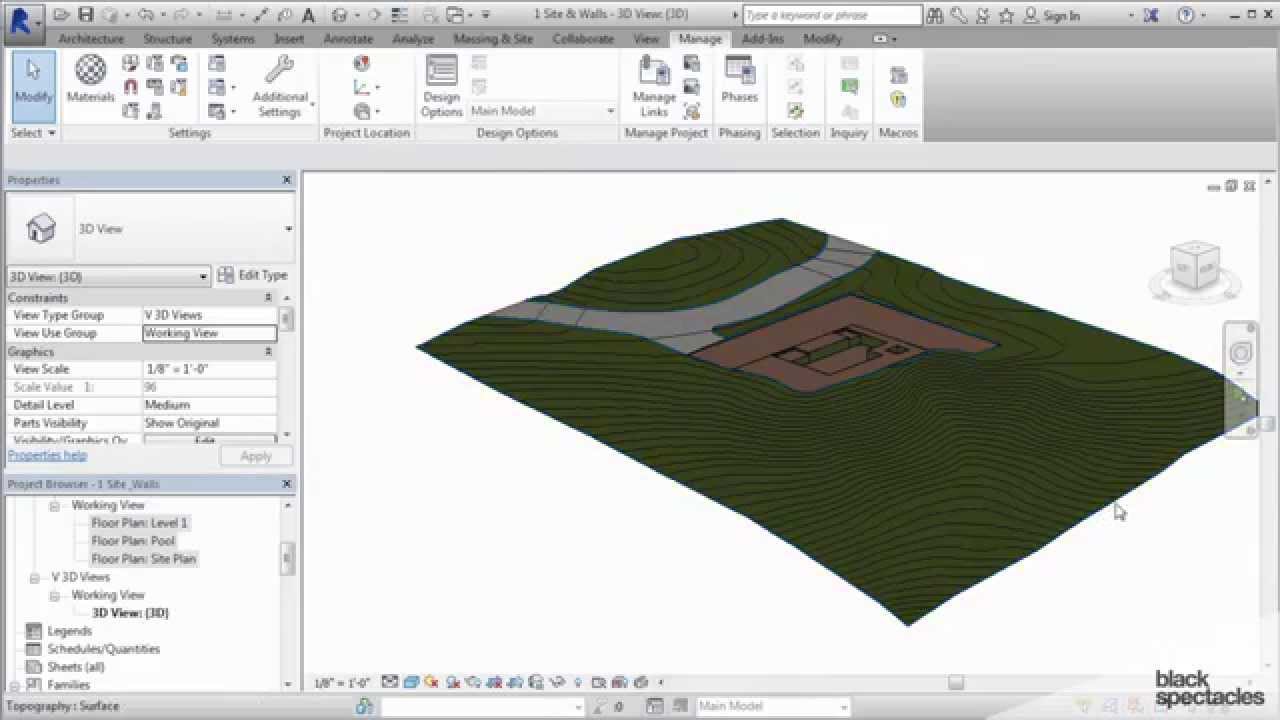
- Visual Representation and Communication: Integrating topography into Revit models creates a comprehensive and realistic representation of the project, facilitating communication and collaboration among stakeholders.
Integrating Topography into Revit
Revit provides several methods for incorporating topography data into your models:
- Importing Existing Survey Data: Survey data, typically in formats like LandXML or DXF, can be imported directly into Revit, creating a 3D representation of the site.
- Creating Topography from Scratch: Revit allows users to manually create topography surfaces by defining points, lines, and elevations, providing flexibility for smaller projects or when survey data is unavailable.
- Using Existing CAD Drawings: Existing CAD drawings containing topography information can be imported into Revit, allowing for direct integration.
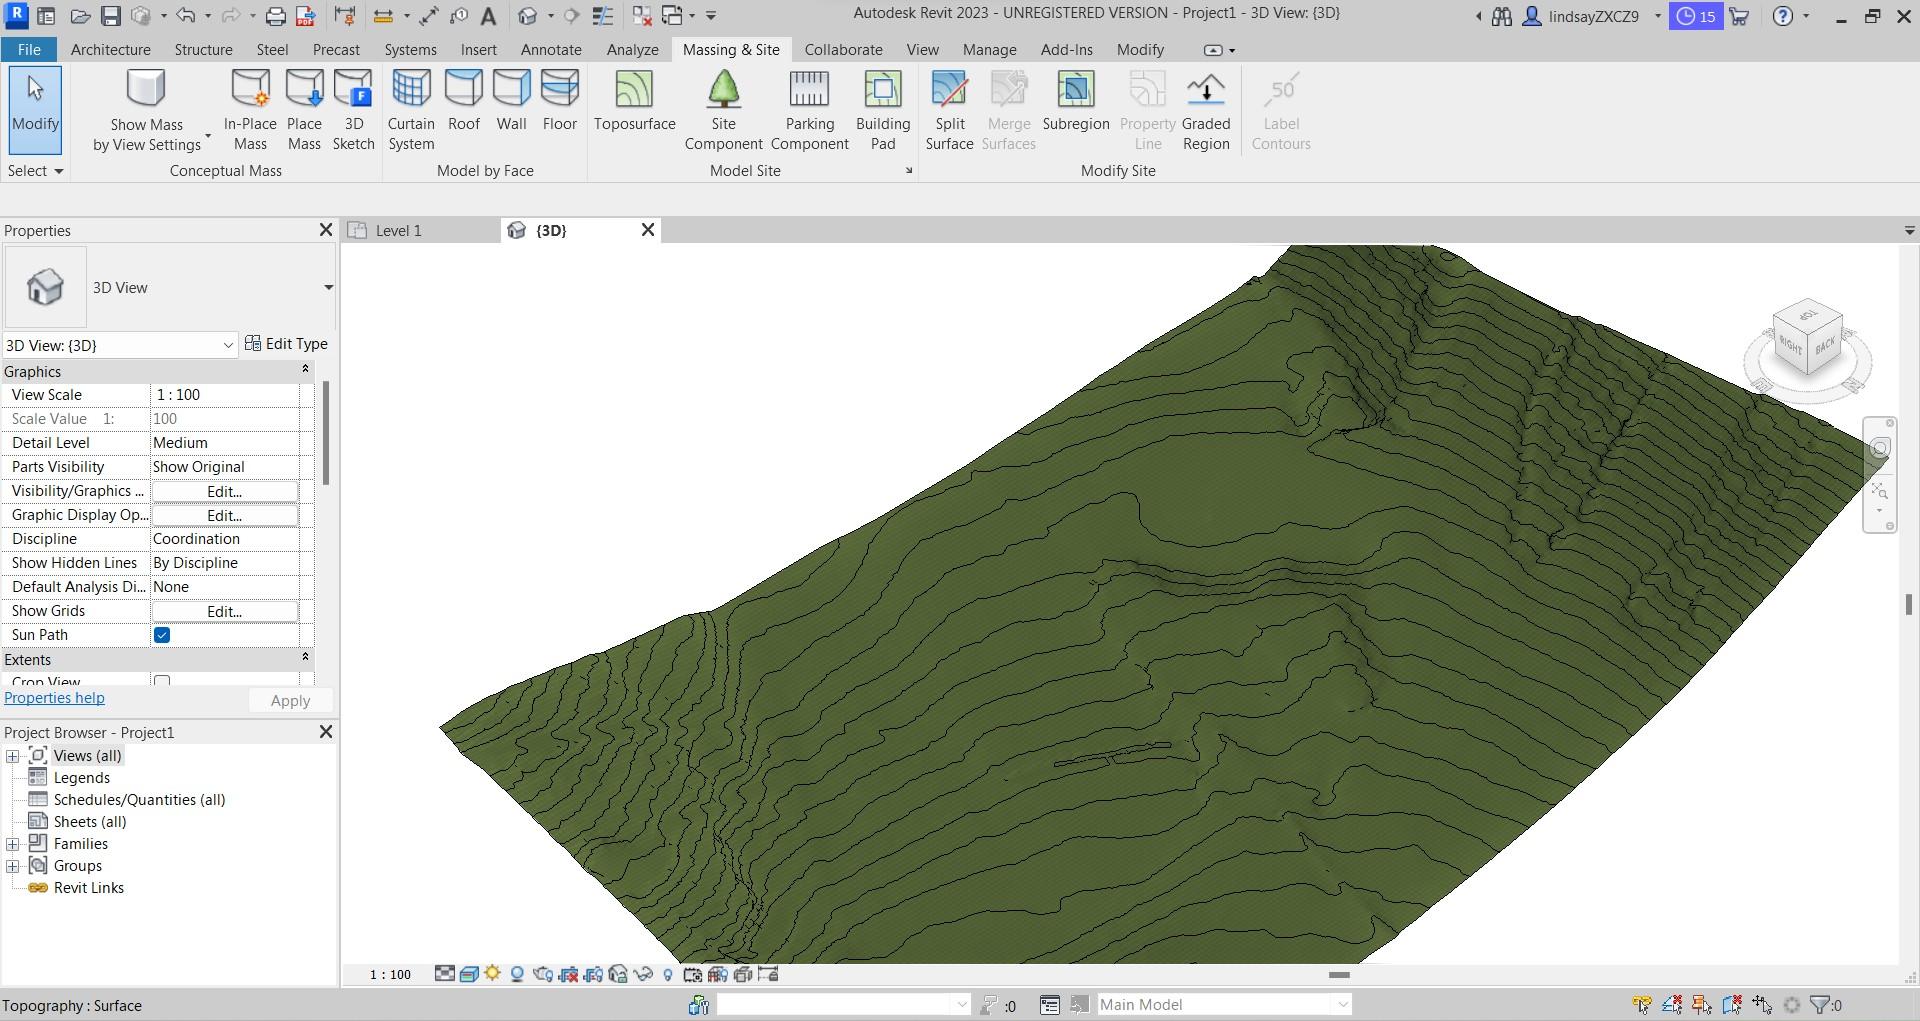
- Generating Topography from Contours: Revit can automatically generate a topography surface from existing contour lines, simplifying the process for projects with readily available contour data.
Benefits of Using Topography in Revit
Integrating topography into Revit offers numerous benefits, enhancing the efficiency and accuracy of design and construction processes:
- Improved Site Analysis: A comprehensive understanding of the site’s topography allows for better planning, minimizing potential conflicts and optimizing resource allocation.
- Accurate Earthwork Calculations: Detailed topography data enables precise earthwork calculations, reducing waste and optimizing construction costs.
- Enhanced Visualization and Communication: Visualizing the site with topography provides a realistic representation, facilitating communication and collaboration among stakeholders.
- Improved Drainage Design: Understanding slopes and drainage patterns enables efficient design of stormwater management systems, minimizing environmental impact.
- Enhanced Foundation Design: Accurate topography information guides the design of foundations, ensuring stability and safety.
- Increased Project Efficiency: By incorporating topography early in the design process, potential problems can be identified and addressed proactively, leading to smoother project execution.
Best Practices for Integrating Topography into Revit
- Use Accurate and Reliable Data: Ensure the topography data used is accurate and reliable, as errors in this information can lead to significant discrepancies in subsequent design decisions.
- Understand Data Formats: Familiarize yourself with various topography data formats, such as LandXML, DXF, and CSV, to ensure proper import and conversion.
- Utilize Appropriate Tools: Explore Revit’s built-in tools for importing, creating, and manipulating topography data, maximizing efficiency and accuracy.
- Maintain Data Integrity: Regularly update and verify topography data to reflect any changes during the design and construction phases.
- Collaborate with Surveyors: Closely collaborate with surveyors to obtain accurate and up-to-date topography data, ensuring seamless integration into Revit models.
FAQs on Topography in Revit
Q1: What are the common formats for importing topography data into Revit?
A: Common formats include LandXML, DXF, and CSV. Revit can directly import these formats, providing a streamlined process for integrating existing survey data.
Q2: Can I create a topography surface in Revit from scratch?
A: Yes, Revit allows users to manually define points, lines, and elevations to create a topography surface. This is useful for smaller projects or when survey data is unavailable.
Q3: How can I ensure the accuracy of the imported topography data?
A: Verify the data source’s reliability and consider conducting a site visit to validate the imported information.
Q4: Can I use topography data to analyze site drainage patterns?
A: Yes, Revit’s analysis tools can be used to study slopes and drainage patterns, allowing for informed design of stormwater management systems.
Q5: How does topography data impact foundation design?
A: Topography information informs the design of foundations, ensuring they are adequately supported on the existing terrain and account for any potential slope challenges.
Tips for Effective Topography Integration in Revit
- Start with a Clear Site Survey: Obtain a detailed site survey to establish a solid foundation for accurate topography integration.
- Utilize Revit’s Built-in Tools: Explore and utilize Revit’s tools for importing, creating, and manipulating topography data, maximizing efficiency and accuracy.
- Visualize and Analyze: Use Revit’s visualization tools to analyze the site topography, identify potential challenges, and optimize design decisions.
- Communicate with Stakeholders: Clearly communicate the role of topography in the design process to all stakeholders, ensuring a shared understanding of its importance.
- Maintain Data Integrity: Regularly update and verify topography data to reflect any changes during the design and construction phases.
Conclusion
Incorporating topography into Revit models offers a significant advantage for architects, engineers, and contractors. This approach provides a comprehensive understanding of the site, enabling informed design decisions, accurate cost estimations, and efficient project execution. By leveraging Revit’s tools and following best practices, professionals can seamlessly integrate topography into their projects, maximizing project success and achieving a higher level of accuracy and precision.


Closure
Thus, we hope this article has provided valuable insights into Integrating Topography into Revit: A Comprehensive Guide. We appreciate your attention to our article. See you in our next article!